We have added this Floating functionality and some styling so that the TOC Component looks good and doesn't take much space when you scroll the page and is away from the main content of the page.
The live demo of this widget can be seen in this post above.
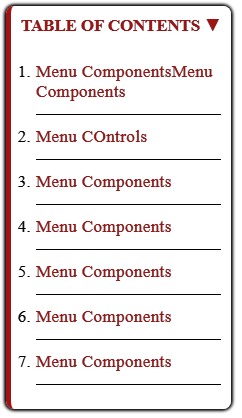
Table Of Contents Features:
- Fully Dynamic and Responsive.
- Floating Functionality when scroll.
- Very Compact and Fast.
- Stylish and Elegant build.
- Collapsible Header.
- Build with HTML5, CSS and Pure Javascript (No Libraries).
- Smooth Animations and transitions effects.
Adding The Widget:
Step 1: Adding the code
Firstly go to Blogger → Template → Edit HTML and search for the code </body> and paste the given code just before it.<style>.ABT_Active{display:block !important}#TOC{display:grid;background-color:#f4fa9c;padding:20px;color:#f469a9;width:80%;justify-content:baseline;align-items:baseline;margin:0 auto;border:4px solid #88bef5;box-shadow:0px 0px 3px 1px #88bef5}#TOC span{font-size:1.4em;font-weight:bold;display:block;cursor:pointer}#TOC ol{padding:0px 0px 0px 15px;justify-content:baseline}.ABT_Animate{transition:all .1s;animation-name:ABT_Aanimation;animation-duration: .4s;animation-iteration-count:infinite}#TOC li{font-size:1.2em;padding:8px 0px}#TOC a{color:#ba53de;text-decoration:none}#TOC a:hover{color:#f469a9;text-decoration:none}@keyframes ABT_Aanimation{10%{transform:translate(1px, 1px) rotateY(0deg)}20%{transform:translate(-1px, -2px) rotateY(-1deg)}30%{transform:translate(-3px, 1px) rotateY(1deg)}40%{transform:translate(4px, 2px) rotateY(0deg)}50%{transform:translate(2px, -1px) rotateY(1deg)}70%{transform:translate(-2px, 2px) rotateY(-1deg)}80%{transform:translate(-3px, 1px) rotateY(0deg)}90%{transform:translate(1px, 2px) rotateY(0deg)}100%{transform:translate(0px, -2px) rotateY(-1deg)}}</style><script async src='https://rawcdn.githack.com/mmnauman/allbloggertricks-files/8ef30d65aa506e2a0e5a188545a368f6adb75547/TOC_Builder.js' type='text/javascript'></script>
After completing the first step now its time for the final step which is very easy let's do it.
Step 2: Placing the widget inside posts/static pages.
Copy the below code in any post or page where you want this widget to appear:
document.addEventListener("DOMContentLoaded", () => {ABT_TOC(".post-body", "h2");});
Settings: Adjusting widget
- The Red highlighted text is for the container tag inside the post or pages if you don't know comment your blog URL will tell you. If you are a blogger user then this will work for you.
- The Orange highlighted text is for the heading tags you want the widget to catch from your post and make it the table of contents. Means the heading tags you used for headings. by default, it is h2 change it according to your needs.
Now, whenever you are writing your post just add that above three lines of code then the widget will appear and this will help in structuring your posts and make it more user and SEO friendly.
We are here to resolve all your problems I know we are learners so if you are not knowing or getting confused don't mess up ask me in comments or through contact page will resolve your problems. Have a great day. Cheers.😊


No comments:
Post a Comment